Maintenance
·
21 min read
What is DFMEA?
What Does DFMEA Stand For?
DFMEA, or Design Failure Mode and Effects Analysis, is more than just an acronym. It’s a proactive risk management tool that is used by engineering and product teams to predict what might go wrong with a design, assess how serious those failures could be, and take steps to prevent them before it’s too late. In simple words, let’s prevent the damage before it comes to the customers.
Think of it as the "what-if engine" of smart design.
Imagine this.
Your team is about to launch a new product, a smart energy meter designed to optimize how households monitor consumption. The prototypes worked fine. Marketing is buzzing. The launch date is just around the corner.
Then, two days before production, a late-stage review flags a critical issue: under rare voltage fluctuations, the meter misreads usage by up to 40%. It's not just a bug: it could be a potential brand meltdown.
But how? The team was skilled. They tested. They followed the process. And yet, this happened.
The problem? A simple one. One that’s surprisingly common: they didn’t systematically anticipate how the design could fail.
That’s where DFMEA comes in.
Rather than reacting to issues once they’re in the hands of customers or regulators, DFMEA forces you to ask:
What could fail? How bad would it be? And how do we stop it before it starts?
What Is the Purpose of DFMEA?
The main point of DFMEA is simple: find weak spots in a design before they cause problems. That’s it.
It’s a tool that helps teams catch design issues early: before production, before customer complaints, before warranty claims. If something in your design could fail, DFMEA helps you figure that out and decide what to do about it.
DFMEA is not about perfection. It is rather about reducing the chances of something going wrong. It reduces the number of defects early in the design, so the cost of fixing it is much lower than it would be if found in later stages or at the customer. In practice, it’s a way to make better decisions, backed by a process that gets everyone on the same page.

Engineering teams use DFMEA to avoid surprises. It’s part of building something that works not just in theory, but something that actually works in the real world.
Take a real example: a company was designing a new type of electric scooter. On paper, everything looked solid. But during DFMEA, someone pointed out a small detail: there was a bracket holding the battery in place, that could crack over time, due to vibrations. Not a big issue at first, but if it gave way, the battery could shift just enough to cut the power mid-ride. Not dangerous, but quite frustrating.
So, the team tweaked the design and locked in a better battery fit. Just like that, they avoided facing angry customers and bad reviews.
In the real world, design issues don’t always show up in the lab. DFMEA helps you think a few steps ahead.
DFMEA brings together multiple perspectives: design, manufacturing, quality, customer service, all together, to ask questions early:
- What could go wrong?
- How would that defect affect the customer?
- How likely is it to occur?
- Would we detect before release?
By asking these questions, DFMEA turns risk into strengths. It allows your team to:
- Detect the weaknesses
- Prioritize risks
- Document decision and assumptions
How Does DFMEA Work?
DFMEA works step by step, by breaking things down.
You start by taking the design and looking at it closely: piece by piece, function by function. It’s not complicated, but it requires structure. The power of DFMEA is that it forces the team to stop and think. Everyone brings their own perspective: designer, technician, quality engineer, manager. Basically the team looks at the same thing, and asks questions from their own point of view.
How does it look like:
-
Start with the functions
What is the part or system supposed to do? This could be anything from "hold the battery in place" to "maintain stable voltage under varying load." -
List possible failure modes
Ask yourself, what could go wrong? -
Identify the effects of each failure
What would happen if it failed? Would the product stop working? Would it be unsafe? Would the customer even notice? -
Analyze the causes
Why would that failure happen? Is it a material issue? A design tolerance? Assembly variation? -
Score the risk
When you’ve listed the possible failures, the next step is to determine the risk factor for each failure. Rate these 3 things (usually from 1-10):
- Severity – How bad would it be if this happened?
- Occurrence – How likely is it to happen?
- Detection – How likely are we to catch it before it gets out?
-
Calculate the Risk Priority Number, by multiplying numbers from step 5.
- Severity (how bad is it?)
- Occurrence (how often might it happen?)
- Detection (how likely are we to catch it before it reaches the customer?)
-
Identify area for improvement
Based on scores, you decide what needs improvement. For example: modify the design, change the way you test in order to catch the issue earlier. -
Re-evaluate
Once changes are made, you go back and re-score to see how much risk has been reduced.
How to Perform DFMEA – A Step-by-Step Guide
After briefly describing the steps of how to conduct DFMA, let’s deep dive into how it’s actually DFMEA done.
Step 1: Review the Design
Gather the whole team. Engineers, technicians, managers, designers, quality assurance, maybe even someone from the support team.
Together, walk through the design. Step by step, component by component. Ask yourself for each part: What does this piece do? Where could it let us down?
Do not focus on criticising, rather on getting everyone on the same page, by identifying the weak spots in the system..
Step 2: List Possible Failure Modes
Now you’re in detective mode. Go through each component and brainstorm what could go wrong.
Different types of failure to consider:
- Complete failure – The component stops working entirely.
- Partial failure – It works, but not as intended.
- Intermittent failure – It fails sometimes, without a clear pattern.
- Progressive degradation – It slowly gets worse over time.
- Cascade failure – One failure causes another component to fail.
Step 3: Describe the Effects
For every failure mode you listed, ask: “What would happen if this failed?”
Would the whole product stop working? Would it cause inconvenience or damage? Could it hurt someone?
Keep it practical. Don’t just focus on what happens to the part, focus on what happens to the user or the whole system.
Step 4: Rank the Severity
Next, assign a severity score (1–10).
- 9–10: Safety risk or compliance issue
- 7–8: Major function stops working
- 5–6: Minor function degraded
- 2–4: Just annoying
Step 5: Identify the Root Cause
Now go deeper. For each failure, ask: What could cause this?
Think about:
- Design flaws
- Material issues
- Assembly errors
- Environmental factors (heat, vibration, moisture)
- Misuse or wear over time
Document everything. Patterns usually start to show up here.
Step 6: Review Existing Design Controls
At this point, ask: Do we already have anything in place to catch this failure before it gets to the customer?
There are two types of controls:
- Prevention controls – Things that stop the issue from happening at all (like using a better material or adding reinforcements).
- Detection controls – Things that spot the issue before it escapes (like a test or inspection step).
Sometimes teams assume they’ll “just catch it” later. DFMEA makes sure that’s actually true.
Step 7: Rate Occurrence
On a scale 1-10 score how likely the failure is to happen:
- 1–3: Rare or unlikely
- 4–6: Could happen occasionally
- 7–10: Happens often, or has happened before
Step 8: Rate Detection
Then score how likely it is that your team will catch the failure before it gets to a customer.
- 1–3: Very likely to detect
- 4–6: Might detect, depending on conditions
- 7–10: Probably won’t detect until it’s too late
If you score something a 9 or 10 here, and it’s also serious, pay attention. That’s a red flag.
Step 9: Calculate the Risk Priority Number (RPN)
Here’s the math part:
RPN = Severity × Occurrence × Detection
RPN number should be between 1 and 1000. The higher the number is, the bigger problems we are facing.
RPN helps teams decide where to focus first. You can’t fix everything, but by having RPN you can decide what to start with.
Step 10: Plan and Take Action
Look at your high-RPN items and figure out what changes to make. That might mean:
- Redesigning a weak point
- Adding more testing
- Choosing better materials
- Improving documentation or build instructions
Keep the actions practical and focused. Then assign action to the team and give them deadlines.
Step 11: Recalculate and Update
Once changes are made, go back and re-score the RPN. Hopefully, detection goes down, or occurrence drops, or both.
This is not a one-time exercise. As designs evolve, DFMEAs should be updated. They’re living documents, not a checkbox.
Benefits of DFMEA
DFMEA isn’t just paperwork or process. If you perform DFMEA regularly and in the right way, it will bring you measurable value to team and product quality. Here’s what it helps you do:
1. Early Problem Detection
The sooner you find a potential design issue, the cheaper it is to fix. DFMEA brings structure to that early discovery. With DFMEA you get a clear insight where things might fail before they ever reach production.
2. Reduce Costs
Fixing a design issue during production is expensive. DFMEA helps you deal with those risks while they’re still just ideas on paper. A small change to a design today can save money and problems tomorrow.
3. Improve Customer Satisfaction
Even “small” failures can lead to bad reviews, warranty claims, and lost trust. DFMEA helps teams design out the kind of issues that would otherwise slip through and end up in a support ticket later.
4. Smarter Risk Management
Every product carries some level of risk. The question is how big is the risk? DFMEA helps teams focus their time and energy on what really matters by giving each failure a clear score. By reading the Risk Priority Number (RPN), you’re looking at severity and likelihood, in order to get clarity. This structured way helps you decide which problems are urgent and which ones can wait. You start making decisions based on facts, not on gut feel.
5. Create a Shared View Across Teams
DFMEA gets people from different departments, working off the same page. It opens up conversations that might not happen otherwise and helps spot issues from multiple corner. That kind of collaboration leads to smarter design choices.
6. Support Continuous Improvement
DFMEA isn’t something you do once and forget. As products evolve, so do risks. A good DFMEA process becomes part of your product’s lifecycle, helping you improve and adapt over time.
What Are the Disadvantages of DFMEA?
While powerful, DFMEA isn’t without challenges:
- Time- and resource-intensive, especially on complex systems
- Requires accurate scoring, which can be subjective
- Potentially high documentation overhead
- May introduce complacency—assuming risks are “covered” once documented
- Risk of limited scope - if analysis focuses too narrowly on immediate components
DFMEA vs FMEA
FMEA is the big umbrella. It stands for Failure Mode and Effects Analysis and covers all kinds of failure analysis from design, to process and the whole system.
DFMEA is just one type of FMEA. The “D” stands for Design, so the focus here is on catching problems in the design phase, before anything is even built. You’re doing the analysis of things like materials, tolerances, and interfaces. Asking yourself questions like: What in this design might fail, and what are the consequences?
Beside FMEA and DFMEA, we also have PFMEA, where the “P” means Process. PFMEA comes once the design is already set, and you're more worried about how things will be built. It detects issues like eros with tools, operator or process mistakes.
In short:
- DFMEA = catch design flaws before production
- PFMEA = catch process flaws before they reach the customer
- FMEA = the overall method that holds both
Together, DFMEA and PFMEA support a holistic risk-management strategy covering design through production. Most mature engineering teams use both. DFMEA comes first, then PFMEA builds on it.
DFMEA Practice Example
Let’s say your team is building a smart water pump for greywater reuse in homes.
In one of the DFMEA sessions, someone brings up the flow sensor. It’s easy to overlook, but it’s doing a key job:racking water movement and feeding that to the control unit. If it stops working right, the system could either shut off for no reason or keep running when it shouldn’t. Neither is good.
So the team takes a closer look. What could go wrong with this sensor? What would that cause? Can we catch it early or design it differently?
Then the table kicks in. Here's a simple version of what that might look like:
| Design Function | Potential Failure Mode | Potential Effect of Failure | Severity (S) | Potential Cause | Occurrence (O) | Current Controls | Detection (D) | RPN (S×O×D) |
|---|---|---|---|---|---|---|---|---|
| Sense water flow rate | Sensor gives false readings | Overflows, system shuts down | 8 | Condensation on sensor lens | 5 | Conformal coating on PCB | 6 | 240 |
| Sensor stops responding | Data loss, incorrect operation | 7 | Wire connection comes loose | 4 | Manual inspection during assembly | 5 | 140 | |
| Delayed signal transmission | Slow response to flow changes | 5 | Software glitch | 3 | Firmware check during QA | 4 | 60 |
From here, the team would:
- Focus on the highest RPNs first
- Brainstorm actions to reduce occurrence or improve detection
- Document changes
Even a small component like a sensor can create big headaches if it doesn’t work. DFMEA helps you find that out before the product hits the market.
Common Challenges in DFMEA and How to Overcome Them
DFMEA is a solid tool, but it also brings some challenges, just like any other process that involves people. Here are some of the common issues and how teams typically deal with them:
1. Too Much Focus on the Obvious
Ofteam team focuses on known issues that they’ve already faced and fixex, many times. Meanwhile, serious, but rare issues might go unnoticed.
How to fix it:
Bring in people from different functions with different experiences together. As we’ve mentioned several times, bring the designer, the technician, and the service manager together. And don’t just look at past problems. Ask “what’s never failed yet, but could?”
2. Poor Collaboration
Sometimes DFMEA is prepared by one person, in a spreadsheet. That’s not how it’s meant to work. You need an open discussion from the whole team.
How to fix it:
Block time for real, focused workshops. Get the right mix of people in the room and make DFMEA a live activity, not just a document to fill out after the fact.
3. Overcomplicating the Process
Trying to make every line perfect can slow the whole thing down. People get stuck tweaking numbers and lose sight of the actual goal: finding and fixing risk.
How to fix it:
RPN doesn’t have to be perfect. If the team agrees on what’s high risk, take action, even if the RPN isn’t "just right."
4. Data Gaps
Sometimes you simply don’t have enough data to rank likelihoods or detection properly. That can lead to either guessing or skipping steps altogether.
How to fix it:
Be honest about what you don’t know. Use best estimates based on field data, past projects, or supplier input. And flag those gaps so they can be reviewed later as more info comes in.
5. DFMEA Becomes a One-and-Done
A lot of teams run DFMEA once and never look at it again. But designs change. Suppliers change. Use cases shift.
How to fix it:
DFMEA is a continuing process. Revisit the DFMEA during major design updates or when a failure actually happens. Treat it as a living document, not a box to tick.
FAQs About DFMEA
Q: Is DFMEA required by standards?
A: Yes, many such as ISO 9001, IATF 16949, and IEC 61508, expect risk-analysis processes like DFMEA in design controls.
Q: What is an acceptable RPN value?
A: There's no universal cutoff, but typically RPN ≥ 100–150 triggers action. You can also prioritize by highest severity.
Q: How often should DFMEA be updated?
A: Anytime there’s a significant design change, after prototyping failures, or on an annual release cycle.
Q: Who is responsible for DFMEA?
A: The whole team is responsible, and the design team is accountable.
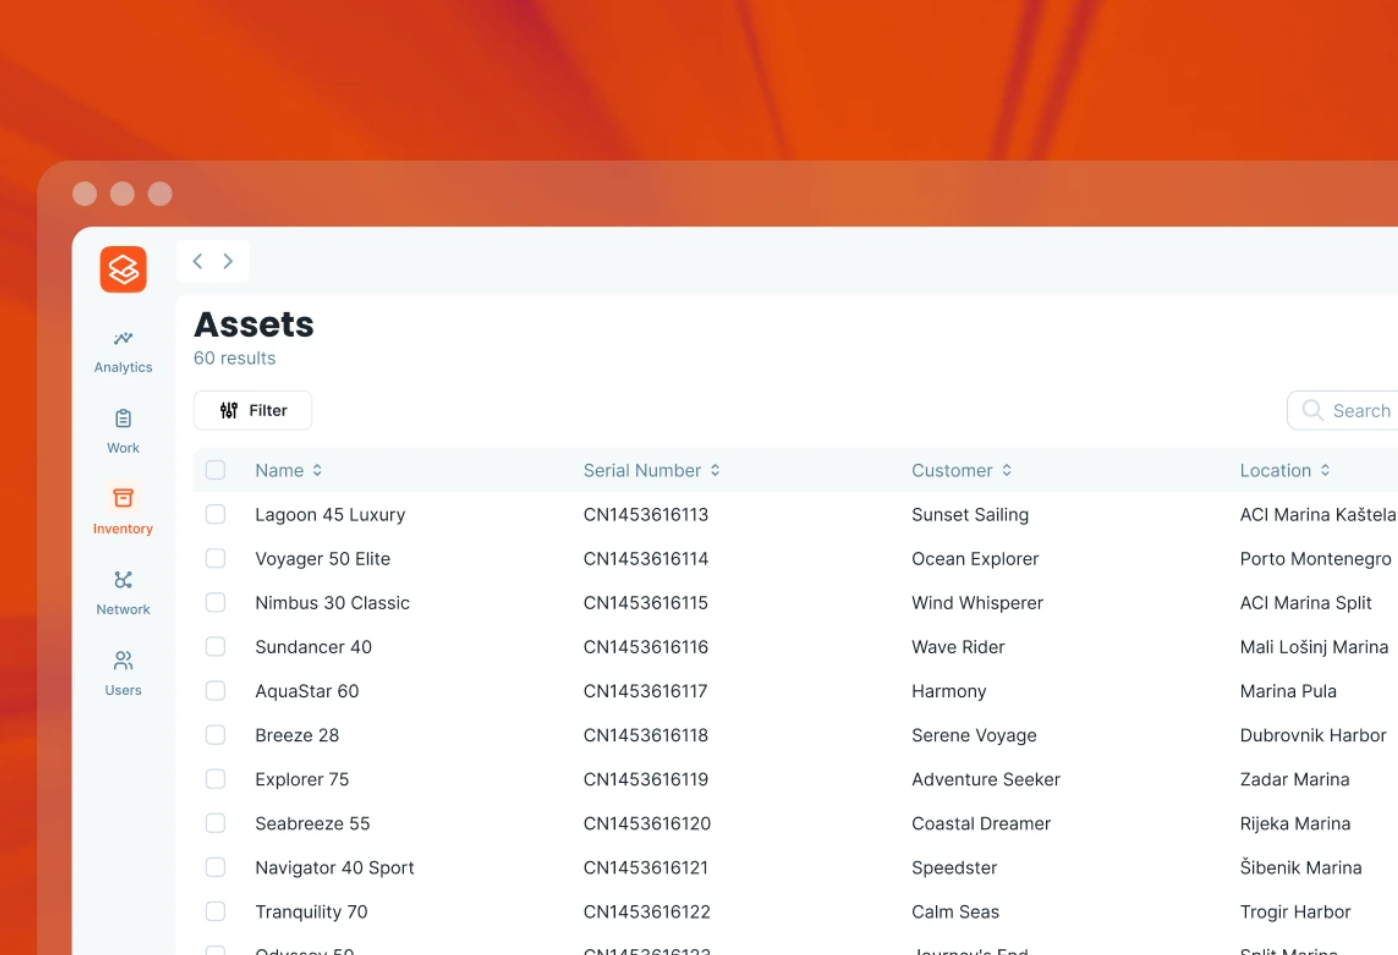
Streamline Asset Management With DFMEA and Serwizz
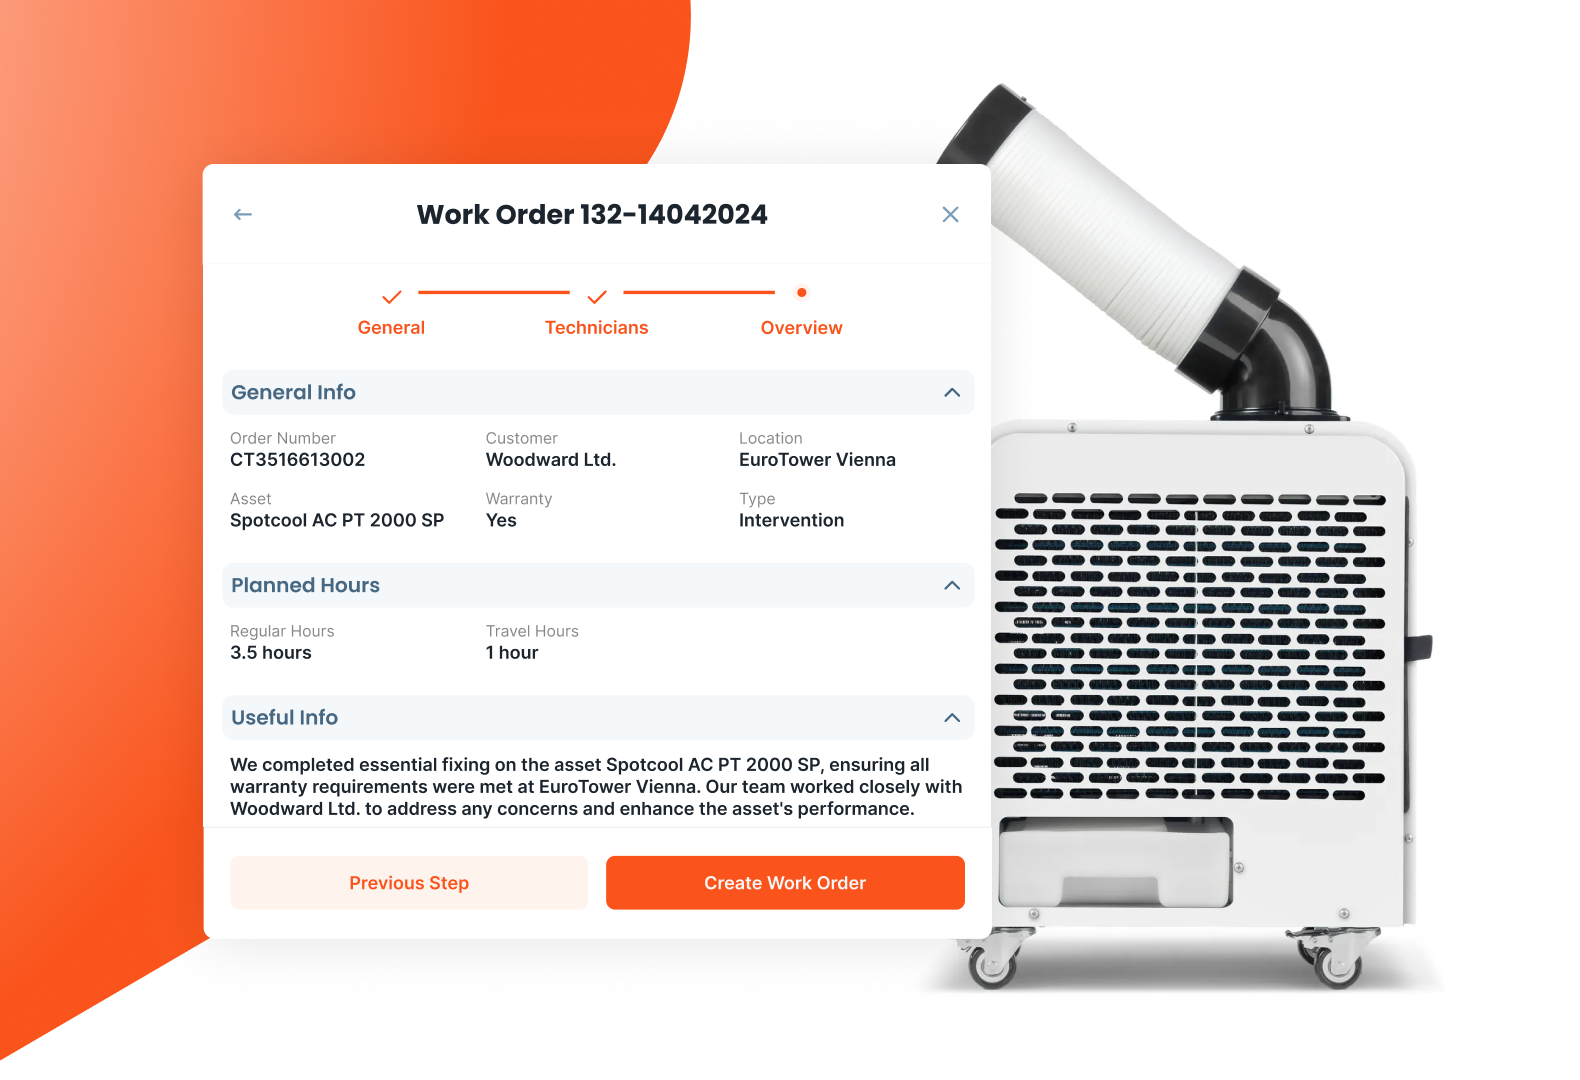
At Serwizz CMMS, DFMEA aligns perfectly with your commitment to robust, proactive engineering management. Through Serwizz’s platform, you can:
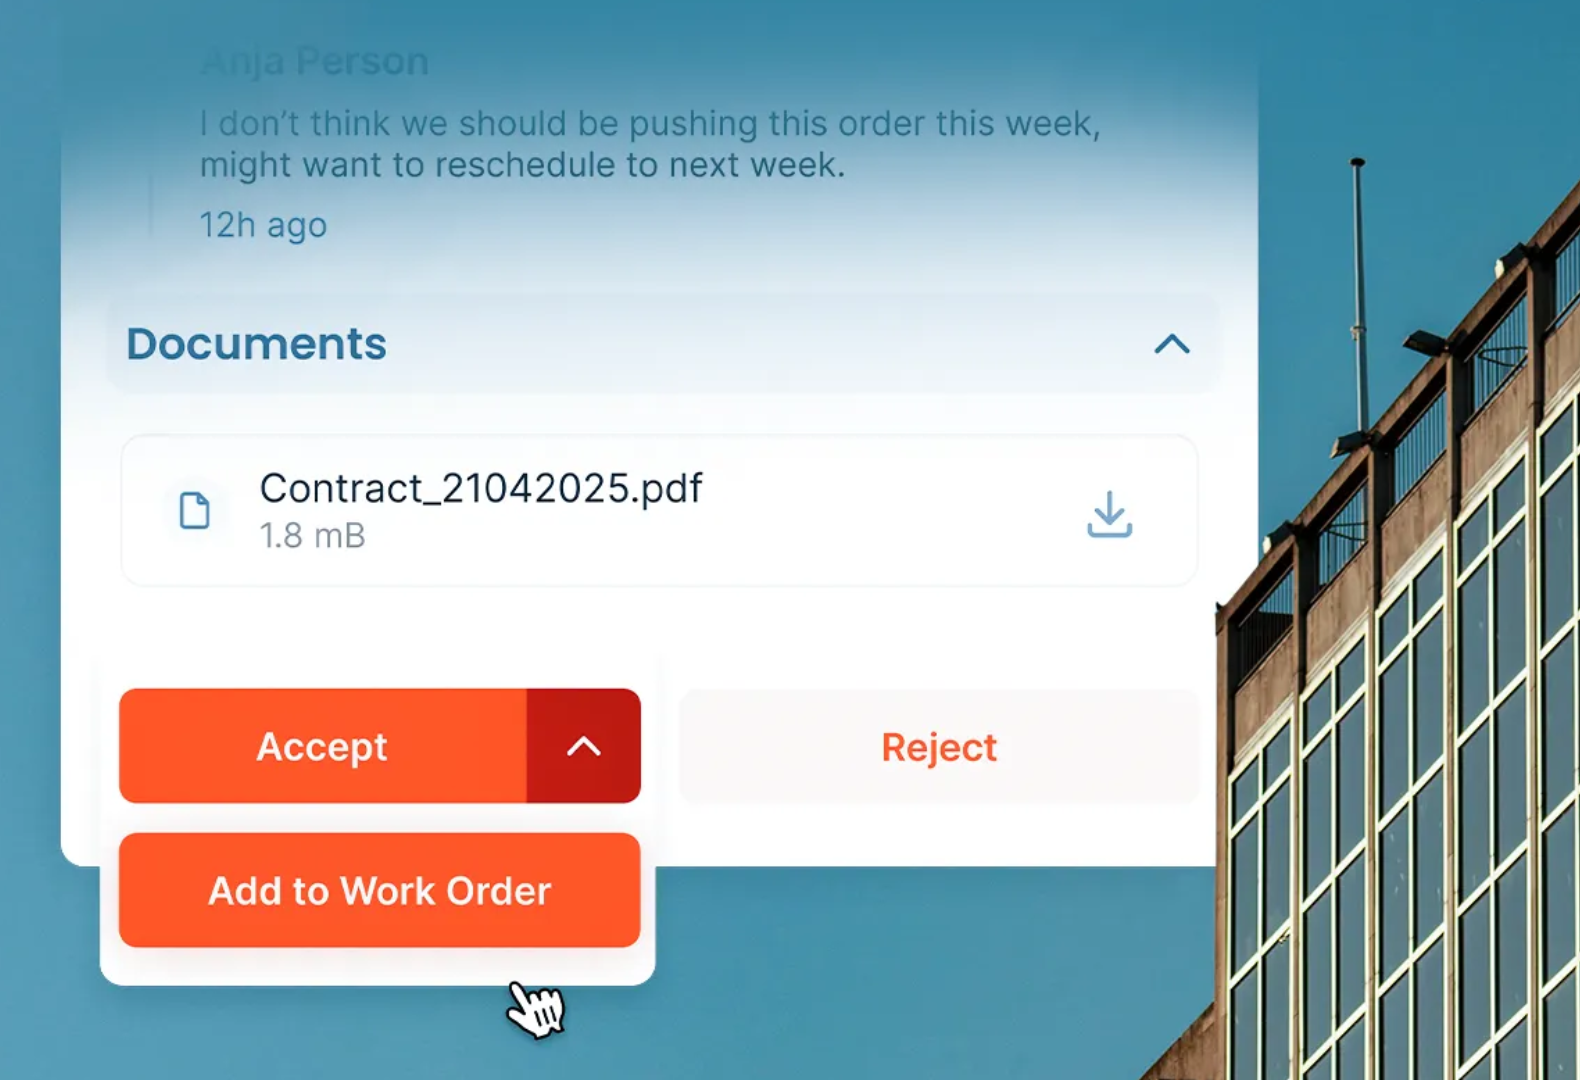
- Integrate DFMEA into asset lifecycle tracking, linking design docs, version control, and change logs.
- Collaborate live with stakeholders on failure-mode analysis and risk mitigation.
- Monitor status and close the loop: ensure actions are completed and revalidated before deployment.
By embedding DFMEA directly inside Serwizz workflows, your team gets visibility and traceability, while reducing the risk and boosting confidence in every design release.
To sum it up. DFMEA is a powerful tool that, when used, mitigates the risk, especially in the design process. It saves time, cuts costs and brings safety to your product. With Serwizz, you don’t just document DFMEA, you actually use it in everyday work.Need help implementing DFMEA workflows in Serwizz or want a demo? Let’s chat!