Maintenance
·
13 min read
Maintenance Troubleshooting Guide: Step-by-Step Process for Faster, Lasting Fixes

5 minutes. One fault. One clear answer.
Stop repeat failures with proof.
Maintenance teams face the same pressure in every site. Production needs fast recovery and the maintenance crew needs a fix which lasts. Troubleshooting bridges both needs when the process stays consistent across shifts and across technicians.
A consistent process reduces wasted part swaps, shortens downtime, and builds a record which makes the next event easier to solve.
Why Maintenance Troubleshooting Fails: The Cost of Guesswork
Many breakdown responses start with a hunch. A part gets replaced because the part failed last time. A reset gets tried because the line needs to run. When the symptom disappears, the job closes with no verified cause.
Days later, the same alarm returns. The same stop repeats, spare parts shrink, overtime rises and trust between operations and maintenance drops.
Unplanned downtime reaches serious cost levels in industrial environments. One ABB survey reported average unplanned downtime costs near $125,000 per hour for industrial businesses. A Siemens report highlighted much higher figures in some automotive settings.
An Evidence-Based Troubleshooting Process That Works
Troubleshooting works best as a decision process built on evidence.
Define the symptom in testable terms, collect evidence before touching hardware, rank likely causes, run one test per cause, fix the confirmed root cause, verify the fix under the same operating conditions. Record the story so the next response starts ahead.
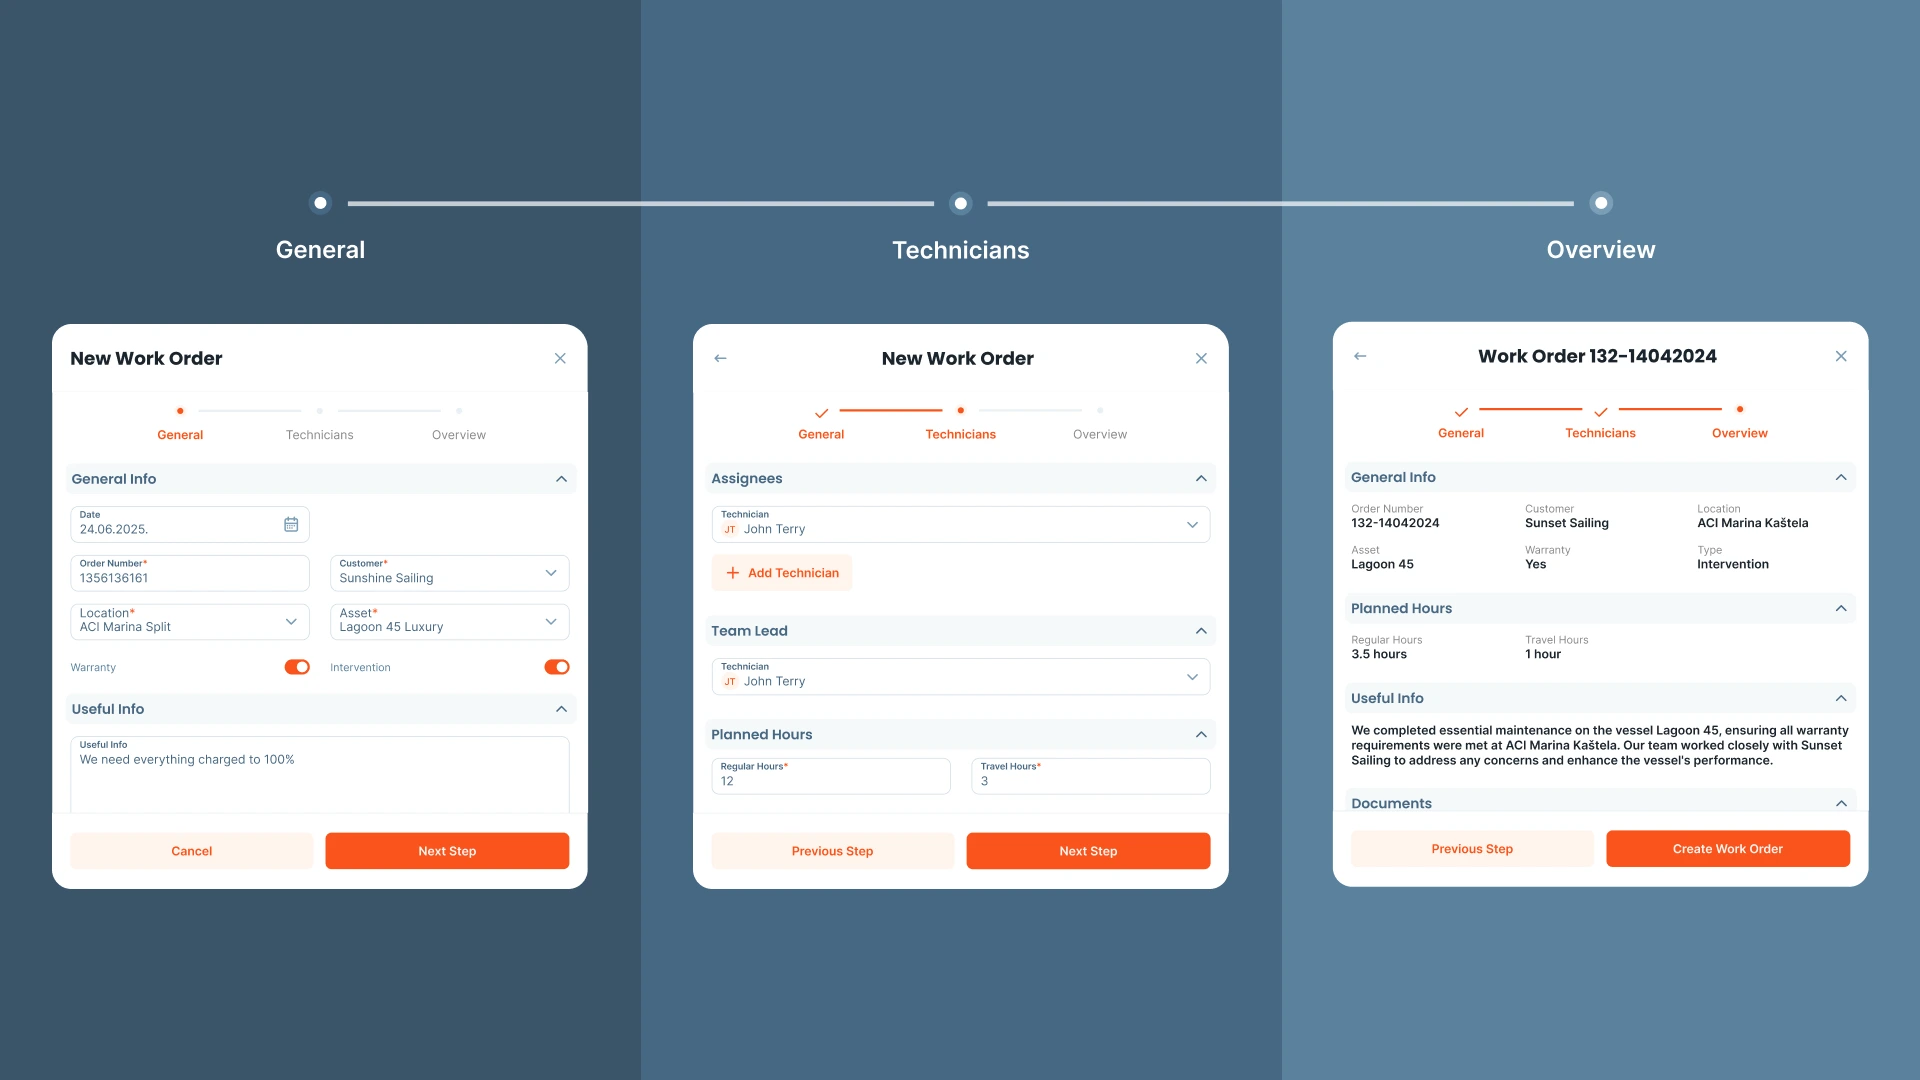
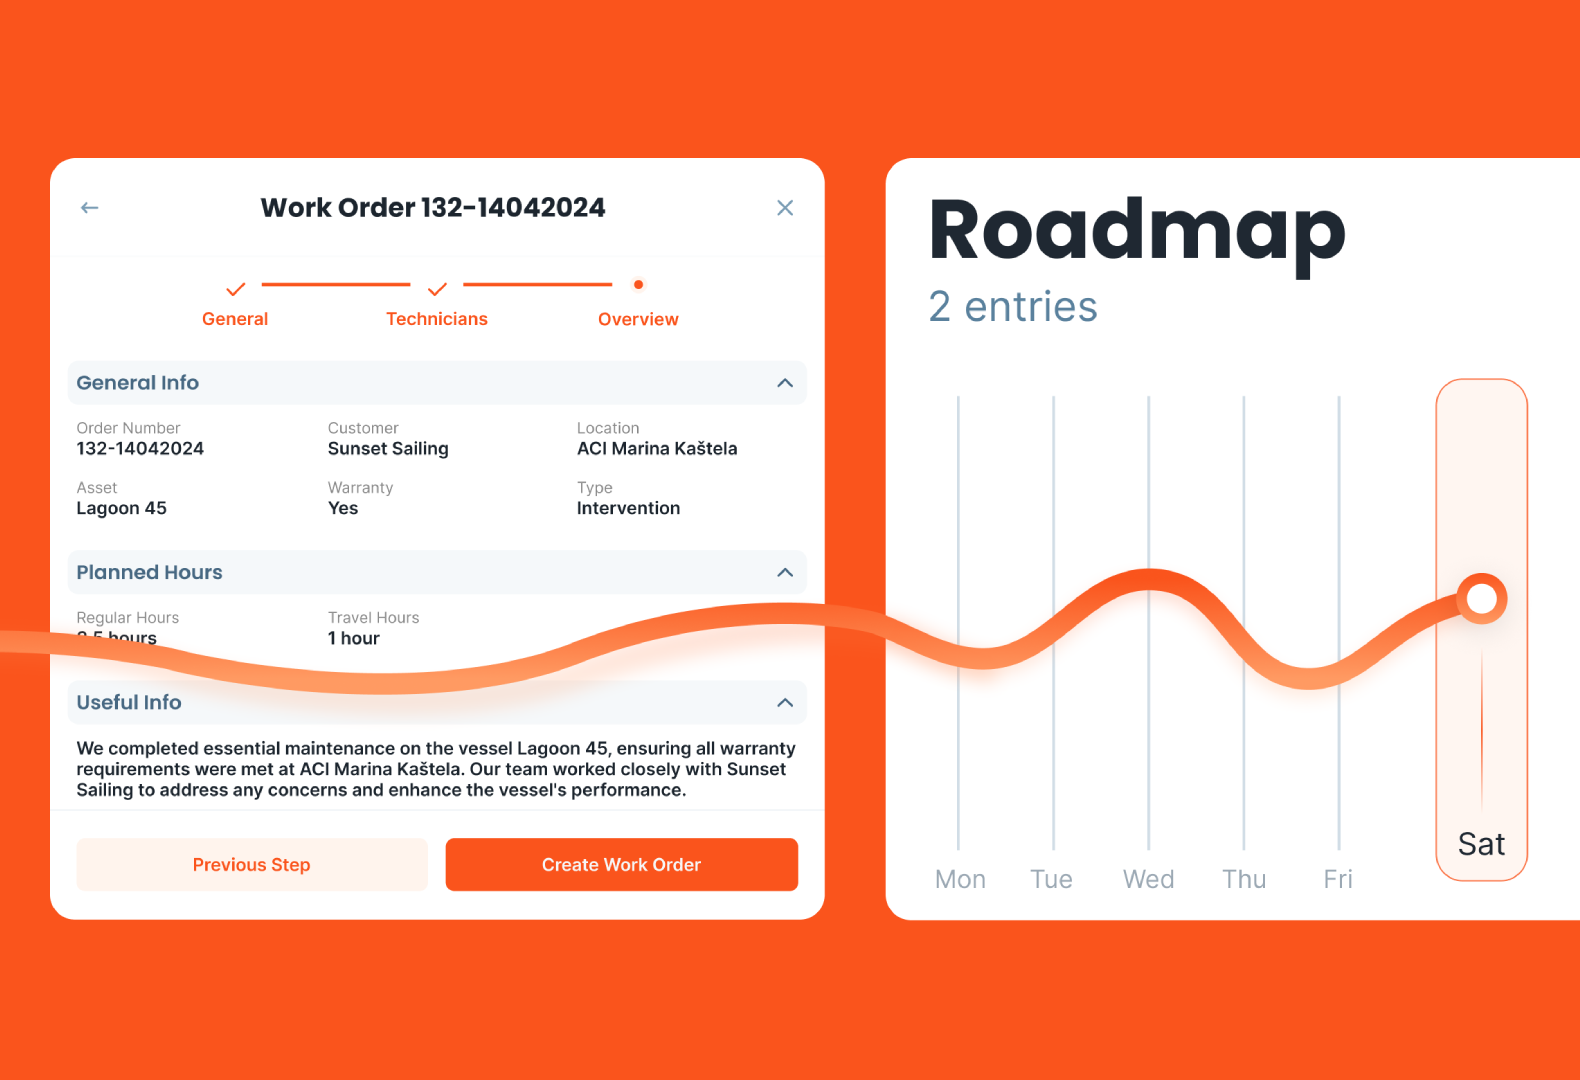
A CMMS supports the process by keeping work orders, asset history, parts usage, and technician notes in one place. Serwizz supports structured work orders and searchable history without adding friction during urgent calls.
Step-by-Step Maintenance Troubleshooting Method
What Is Maintenance Troubleshooting?
Troubleshooting is a structured approach for moving from a symptom to a verified cause. The goal stays simple. A stable fix, plus a record your team trusts.
Benefits of a Structured Troubleshooting Process
A structured approach improves three outcomes. Response time drops because early steps focus on evidence. Repeat failures drop because root cause gets confirmed. Training improves because new technicians learn from past records instead of hearsay.
Better troubleshooting also supports planning. When root causes get recorded, preventive actions become targeted. PM tasks stop looking like generic checklists and start matching real failure modes.
When to Use a More Rigorous Troubleshooting Method
Extra discipline pays off in scenarios where guesswork drives large losses. Recurring faults, intermittent trips, and high impact assets demand consistent logging and repeatable tests. A short stop in a bottleneck asset often triggers long delays across the site.
Intermittent faults deserve special care. A fault which appears once per week often hides a loose terminal, a drifting sensor, heat related expansion, or a borderline parameter setting. Without a record of conditions, the same fault stays mysterious for months.
3 Signs of a Recurring Failure
Look for these signals during dispatch and early diagnosis.
- Same alarm code or same symptom within 30 days.
- Same component replaced more than once with no lasting change.
- Fault appears during a specific load, speed, temperature, or product state.
Step 1: Write a Clear Problem Statement (Verified by a Second Tech)
A strong problem statement reduces confusion and speeds up diagnosis. The statement needs context and boundaries, not opinions.
Include asset name, location, symptom detail, alarm text or code, time of event, operating mode, and load conditions. Add any change made during the last hour, such as a product switch, cleaning, setup adjustment, or parameter change.
Example problem statement: Packaging Line 2 conveyor stops after 10 seconds under load. VFD shows overcurrent fault F12. Restart fails unless load gets removed. Drive end bearing temperature reads 15 degrees higher than usual.
Step 2: Gather Evidence Before You Touch Anything
Evidence prevents a slow loop of trial and error. Evidence also supports clean handoffs between shifts.
Start with three evidence buckets. Work order history, operator observations, and machine data. Work order history reveals patterns, prior repairs, and repeated parts usage. Operator observations capture changes in sound, smell, vibration, and process conditions. Machine data adds alarms, trend screens, counters, and sensor states.
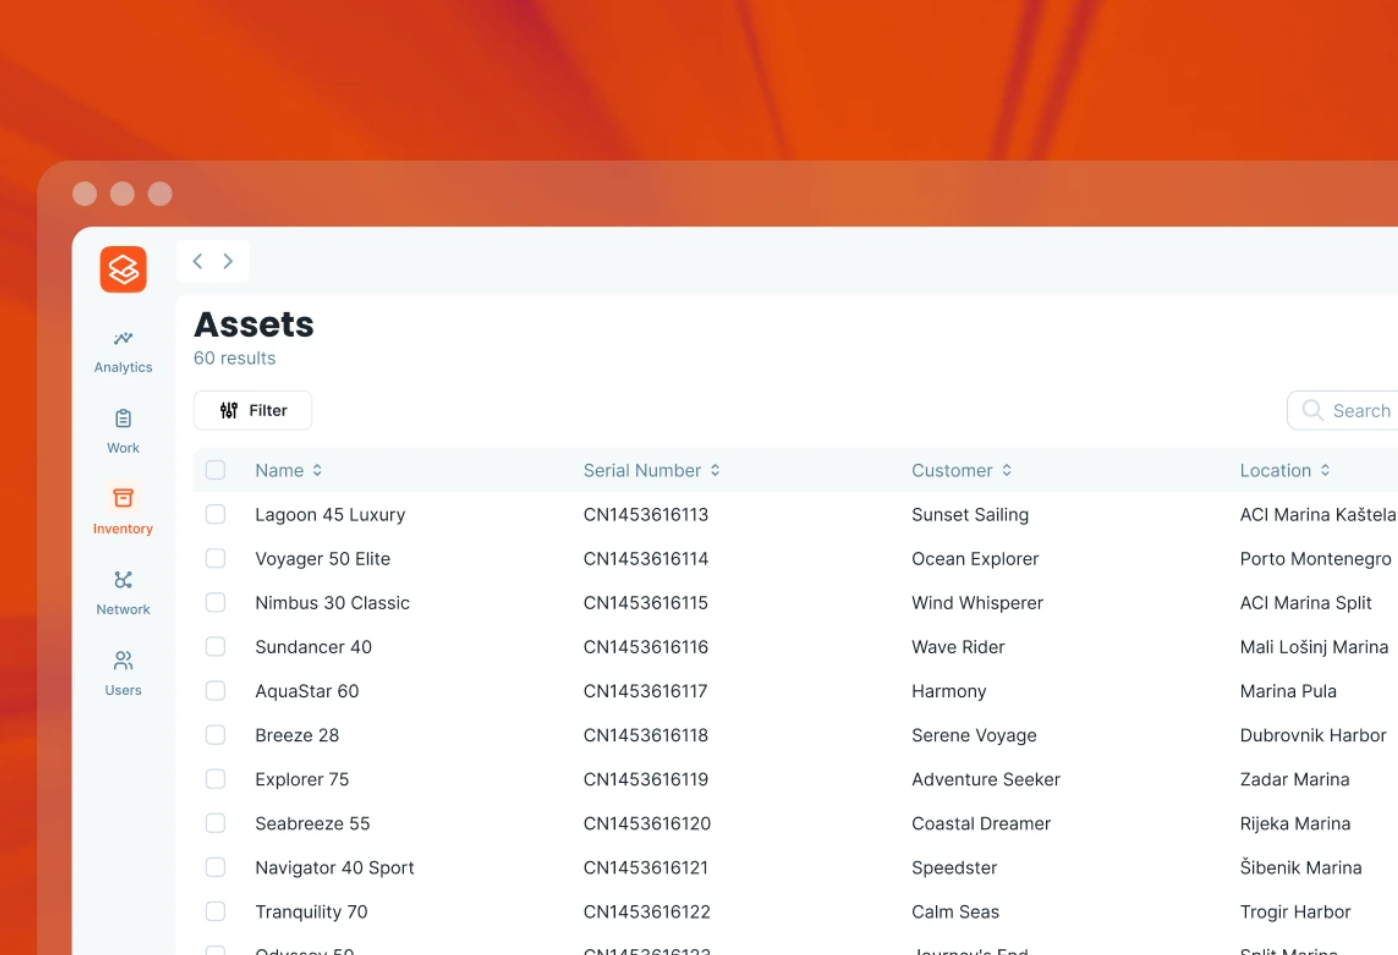
Asset history works best when the record stays searchable. Serwizz work orders support consistent fields and a single timeline across the team.
Check out related Serwizz reading: What Is a Work Order?, How to Create and Manage Maintenance Work Orders, How Digital Work Orders Reduce Mistakes and Save Time in Maintenance
Step 3: List and Rank Likely Causes Using Data
Listing causes prevents tunnel vision and ranking causes prevents wasted time. Keep the list short, then tie each cause to evidence.
Use a simple grouping method. Power and controls. Sensors and interlocks. Mechanical load. Process conditions. Human setup steps. Each group supports a set of fast checks.
After grouping, pick three causes. For each cause, write one test which produces a clear pass or fail. A good test changes one variable and measures one outcome.
Step 4: Test Safely - One Hypothesis at a Time
Start with low risk checks and move deeper only when evidence points deeper. Low risk checks often solve the issue without disassembly.
A safe order often looks like: visual check, control status, sensor state, electrical readings under load, mechanical inspection, then component replacement once a cause gets confirmed.
Avoid replacing multiple parts at once. Multiple swaps hide the true cause and break learning for the next event.
Evidence Ladder: Quick Troubleshooting Checklist
When a site runs on urgency, a short ladder keeps decisions consistent.
-
Observe and record. Alarm text, indicator states, noise, heat, smell, process condition.
-
Check history. Last similar event, recent work, recent parameter changes.
-
Measure. Electrical, pressure, flow, temperature, vibration, cycle time.
-
Isolate. One hypothesis per test, one variable changed per test.
-
Confirm. Same mode and load state, multiple cycles, readings recorded.
Example: Motor Overload Trip on Startup - Test Sequence
Symptom: overload trip appears during startup, mostly under heavy load.
A structured test sequence reduces wasted swaps.
- Measure motor current during startup and steady state. Compare readings with nameplate and drive limits.
- Check mechanical load. Inspect binding points, belt tension, coupling alignment, and bearing heat.
- Inspect power connections for hot spots and loose terminals. Verify voltage balance under load.
- Review drive parameters for ramp time and current limit settings. Verify recent parameter changes.
A confirmed cause might be misalignment creating load, a blocked product path, or a parameter change. Each cause requires a different fix. A motor swap solves none of those causes.
Common Fault Patterns and Fast Isolation Checks
Many faults fall into repeat categories. A consistent approach speeds up isolation.
Sensor and interlock faults often show as intermittent stops. Focus on input state, cable strain, contamination, and mounting alignment. Record the input state at the moment of failure.
Power quality faults often show as random drive trips across multiple assets. Focus on voltage balance under load, loose terminals, and upstream events like large motor starts.
Mechanical binding often shows as rising current draw, rising bearing heat, or slower cycle time before a stop. Focus on alignment, lubrication, wear, and foreign material.
Process overload often shows after a product change or after cleaning. Focus on blockage, filter condition, flow restriction, and setup steps.
Use Operator Observations as Troubleshooting Data
Operators see the start of many problems. Operator notes become useful when the question stays narrow.
Ask for facts. What changed, and when. Any new noise. Any new vibration. Any new smell. Any jam. Any alarm code. Any manual intervention.
Write operator input in the work order description. Operator notes help future diagnosis when the same pattern returns.
Verification Checklist to Prevent False Fixes
False closes happen when the asset restarts, then fails under load. Verification needs structure.
Run the asset in the same mode and load state triggering the fault. Run multiple cycles. Watch alarms and trend screens. Capture before and after readings, current, pressure, temperature, vibration, and cycle time. Save those readings in the work order record.
When a fault depends on temperature, confirm after warm up. When a fault depends on product flow, confirm after sustained flow. When a fault depends on speed, confirm at target speed.
Step 5: Verify the Fix Under Real Load Conditions
A restart proves little. Verification needs the same operating mode and the same load state triggering the fault.
Step 6: Document Root Cause and Tests for Next Time
Troubleshooting speed improves when the team builds a shared library of verified causes and tests. The record needs consistency.
Keep the record limited to key fields, then add attachments when needed. Symptom and conditions. Confirmed cause. Tests performed with results. Parts used and labor time. Prevention action.
Prevention action turns a repair into reliability work. Prevention action might be a PM step, a training note, a parameter lock, a spare part standard, or a simple inspection trigger.
Turn Root Cause Fixes into Preventive Maintenance Actions
A root cause record supports prevention only when the next action gets assigned. Link each confirmed cause to a concrete next step. Add the step as a recurring task, a PM checklist update, or a training note.
Examples of prevention actions: add a monthly terminal torque check on a high vibration motor. Add a weekly sensor cleaning step on a dusty conveyor line. Add a parameter lock policy for drives on critical assets. Add a spare part standard for sensors with consistent failure mode.
A prevention step needs an owner and a due date. Otherwise the same fault returns with a new face.
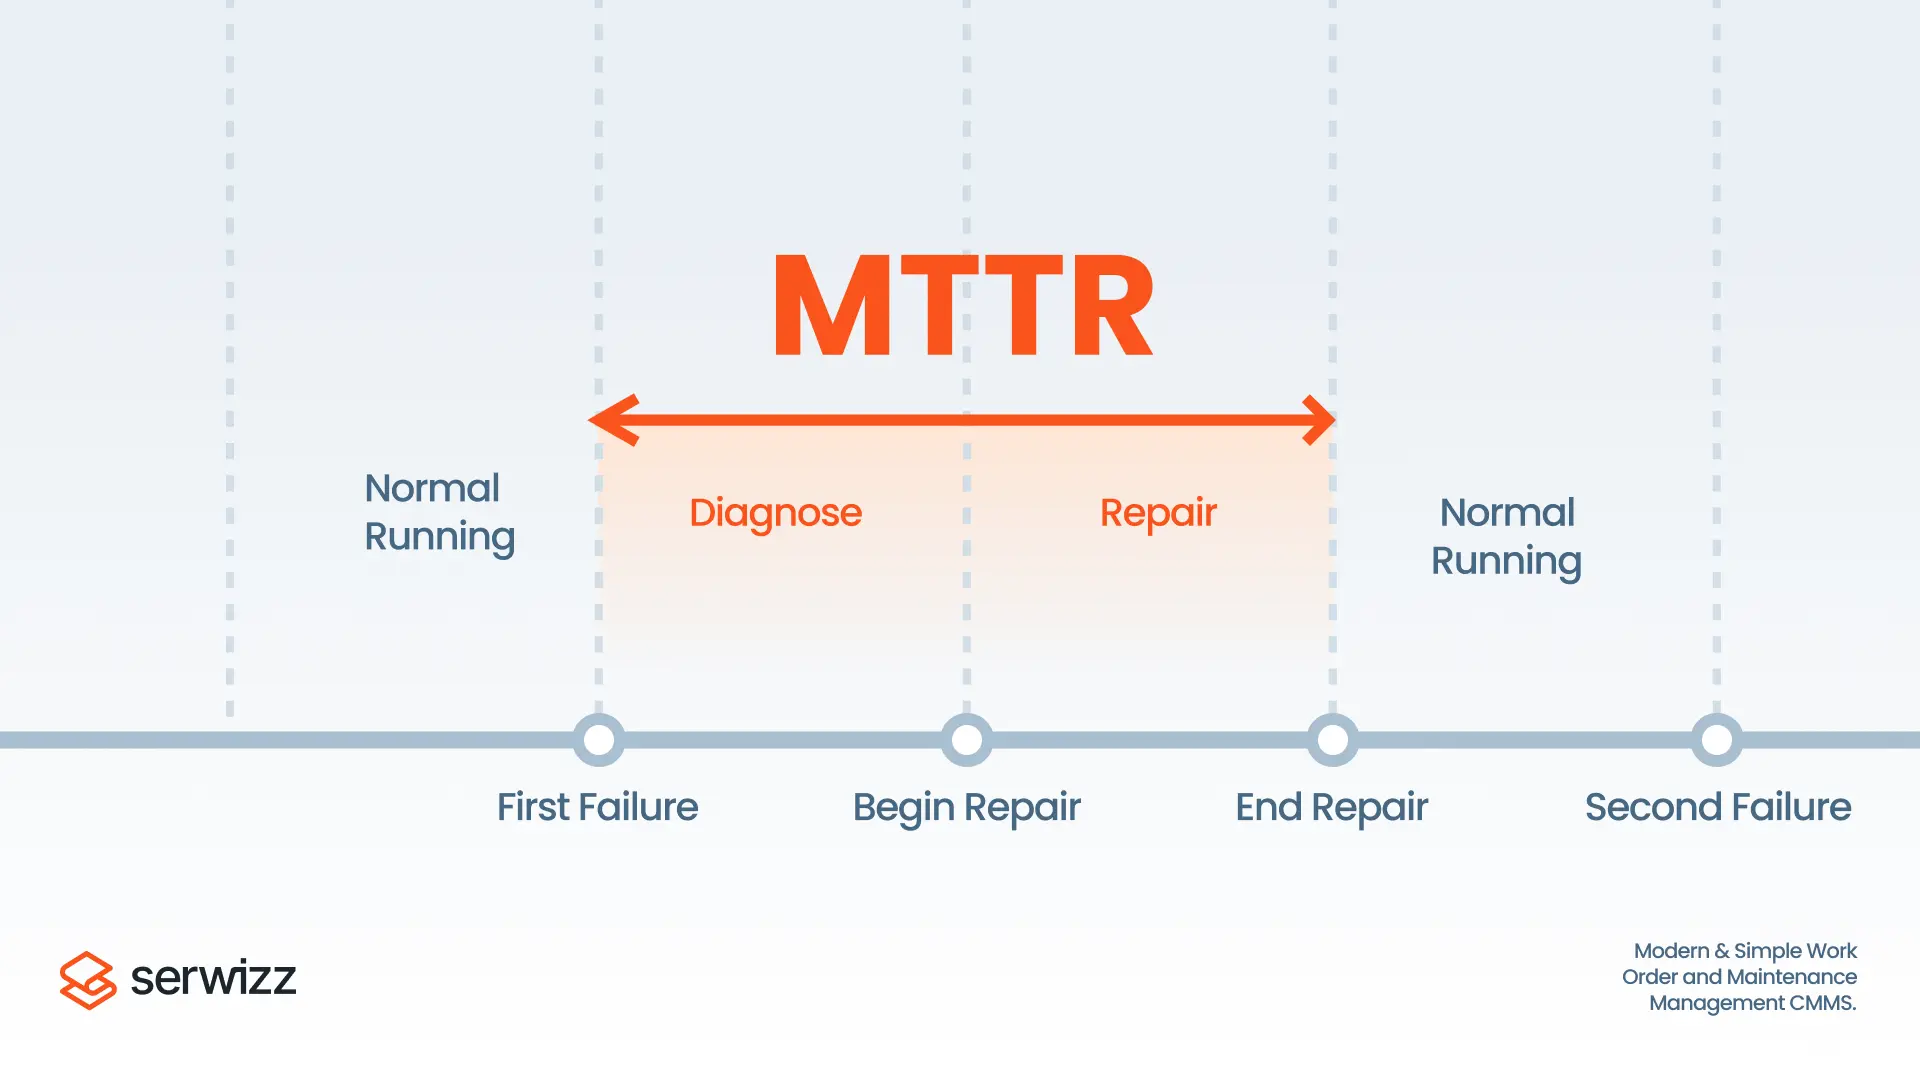
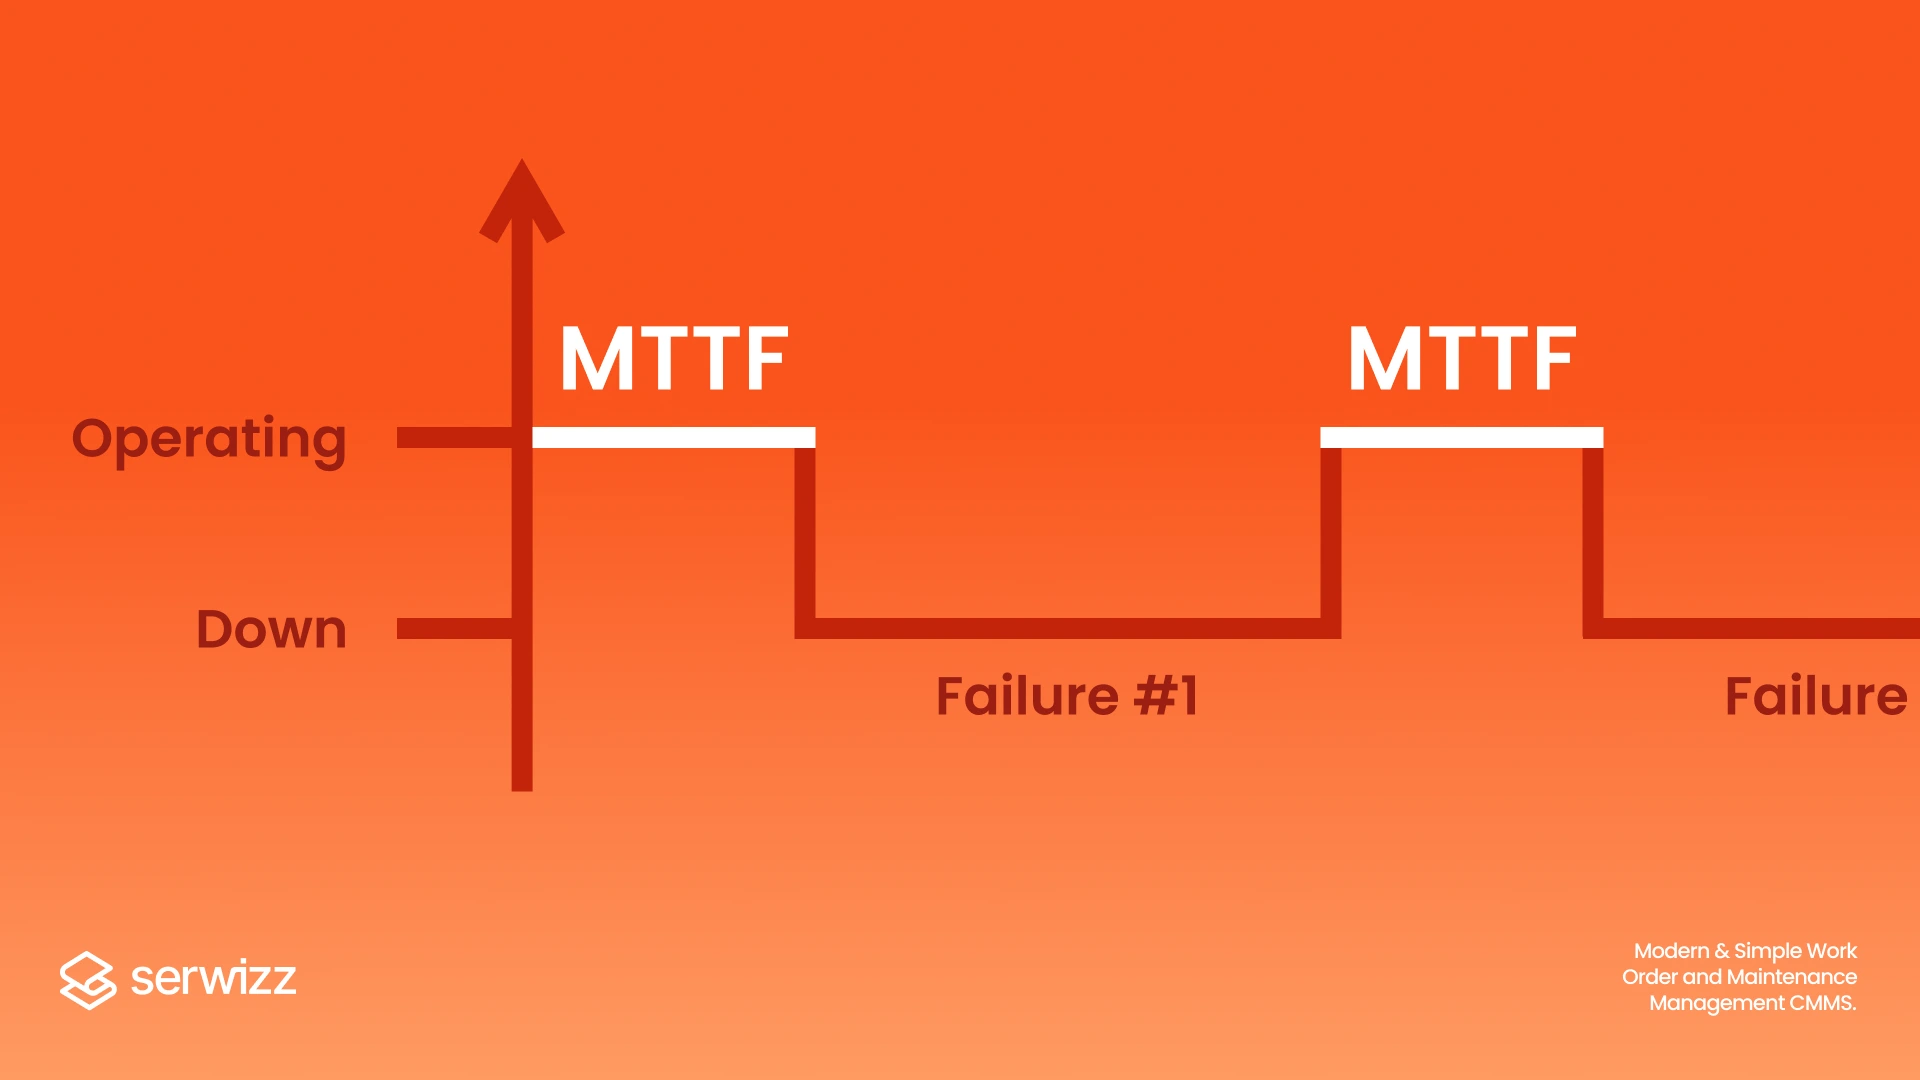
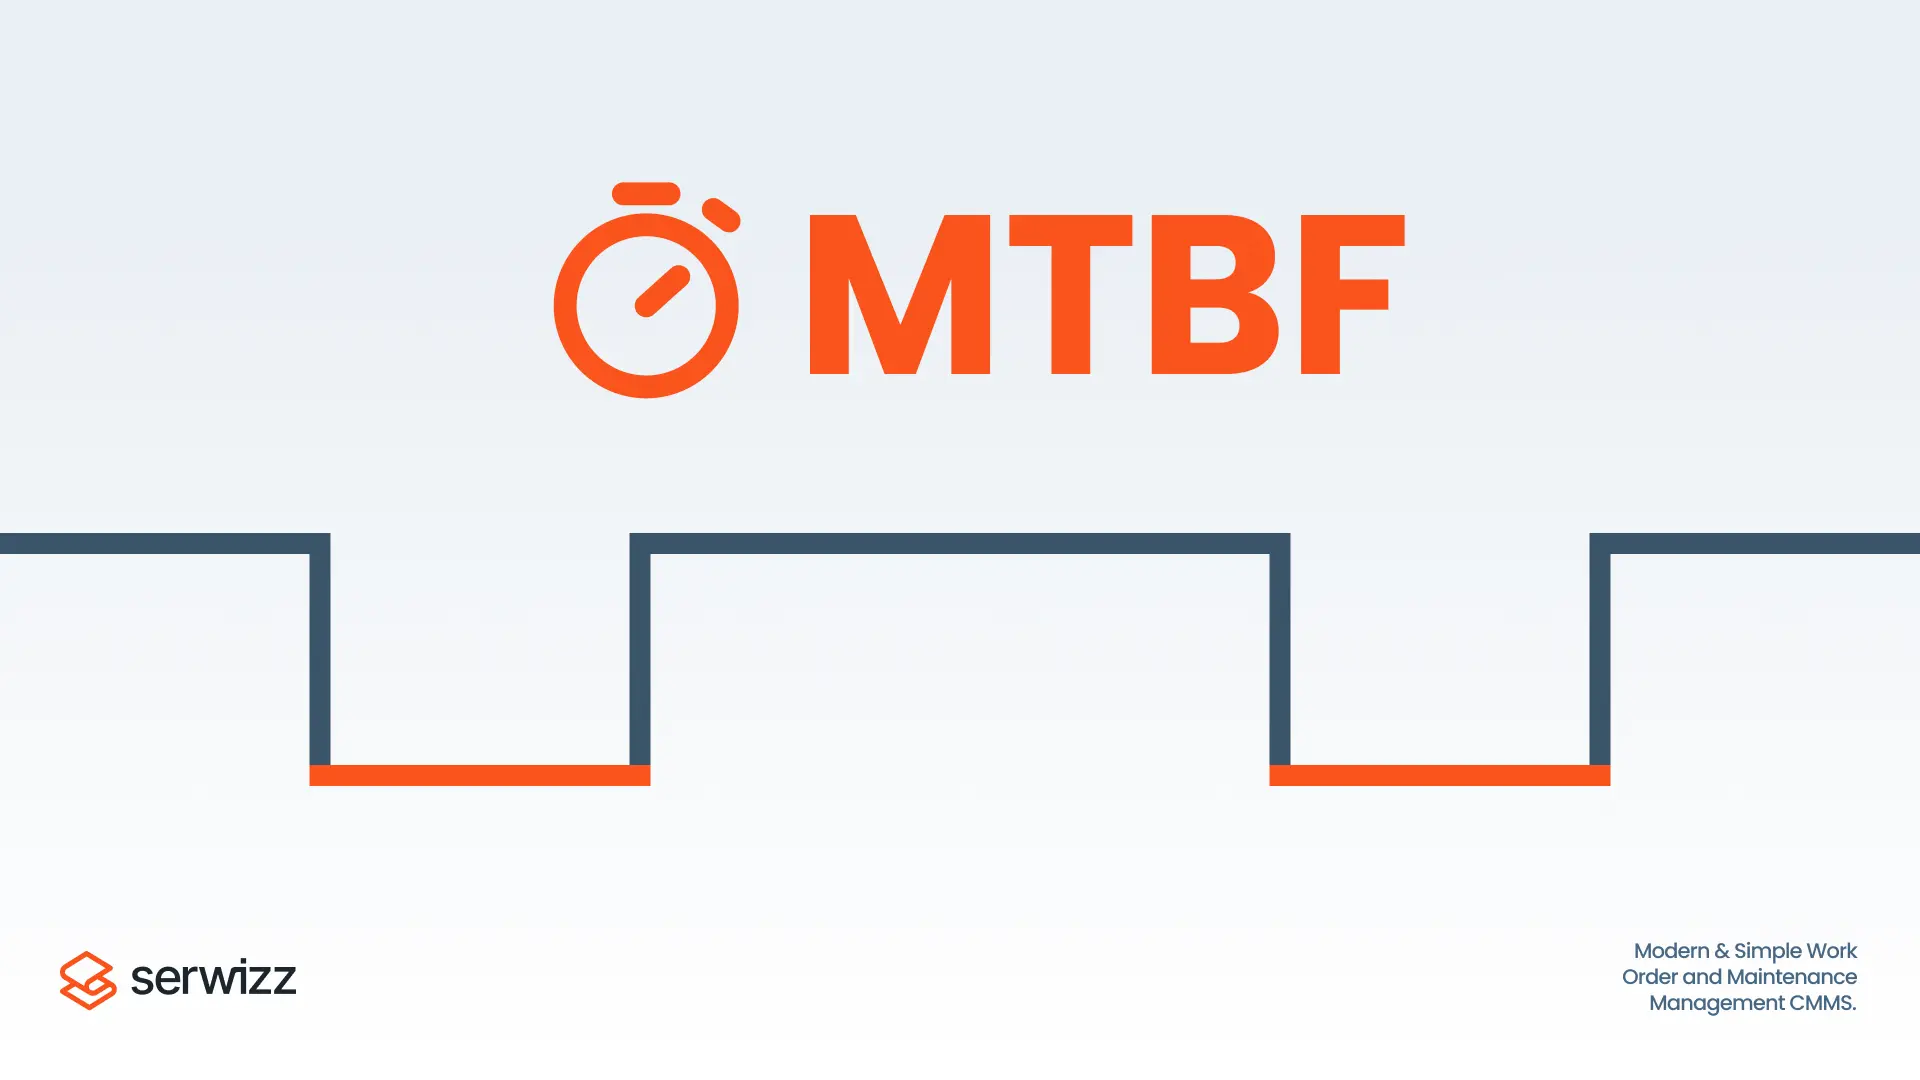
Connect Troubleshooting Records to MTTR, MTBF, and OEE
Metrics help management see trends, yet metrics without context drive bad decisions. Pair metric tracking with root cause records.
MTTR highlights response speed. MTBF highlights reliability. OEE shows output impact from stops and slow cycles. A troubleshooting record explains why a metric moved.
Related Serwizz reading: What is MTTR?, Overall Equipment Effectiveness (OEE) and CMMS, FMEA Analysis: Practical Guide for Maintenance Teams, Reliability Centered Maintenance (RCM)
Work Order Troubleshooting Template (Copy/Paste)
Use the template below inside the work order description. The format supports quick skimming on mobile screens and supports consistent handoff between shifts.
- Symptom and code:
- Operating conditions:
- Evidence checked:
- Top causes listed:
- Tests run and results:
- Confirmed cause:
- Fix applied:
- Verification under load:
- Prevention action:
How Serwizz CMMS Supports Troubleshooting and Prevention
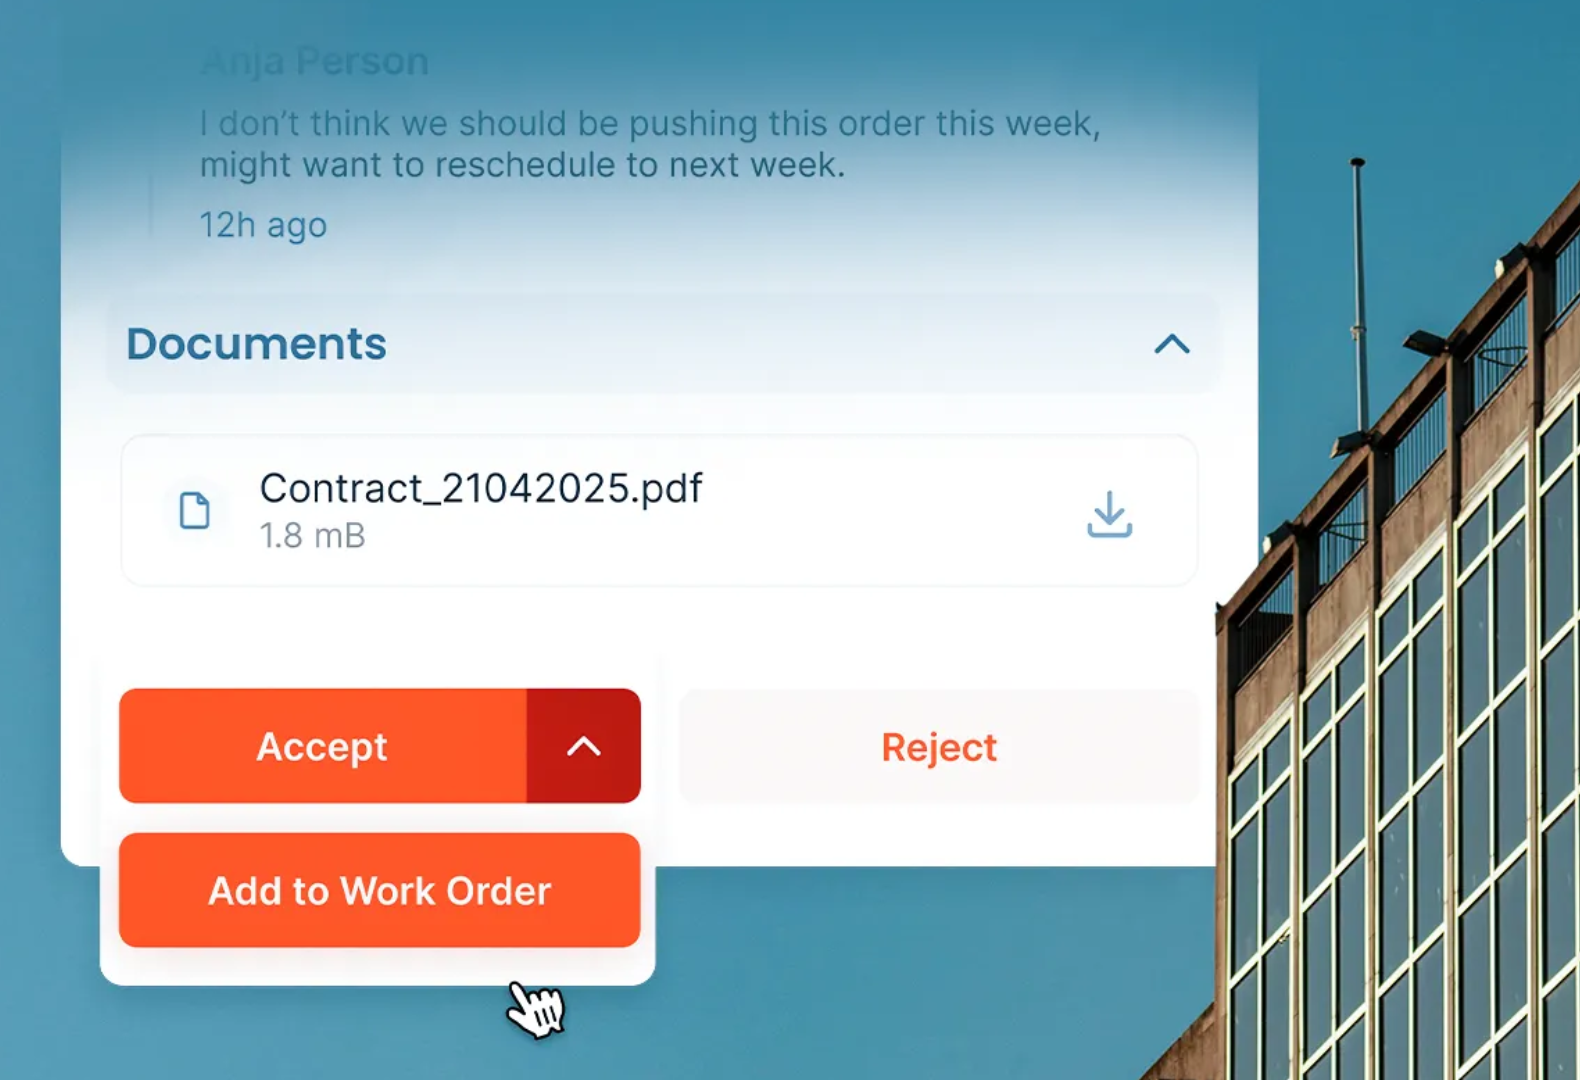
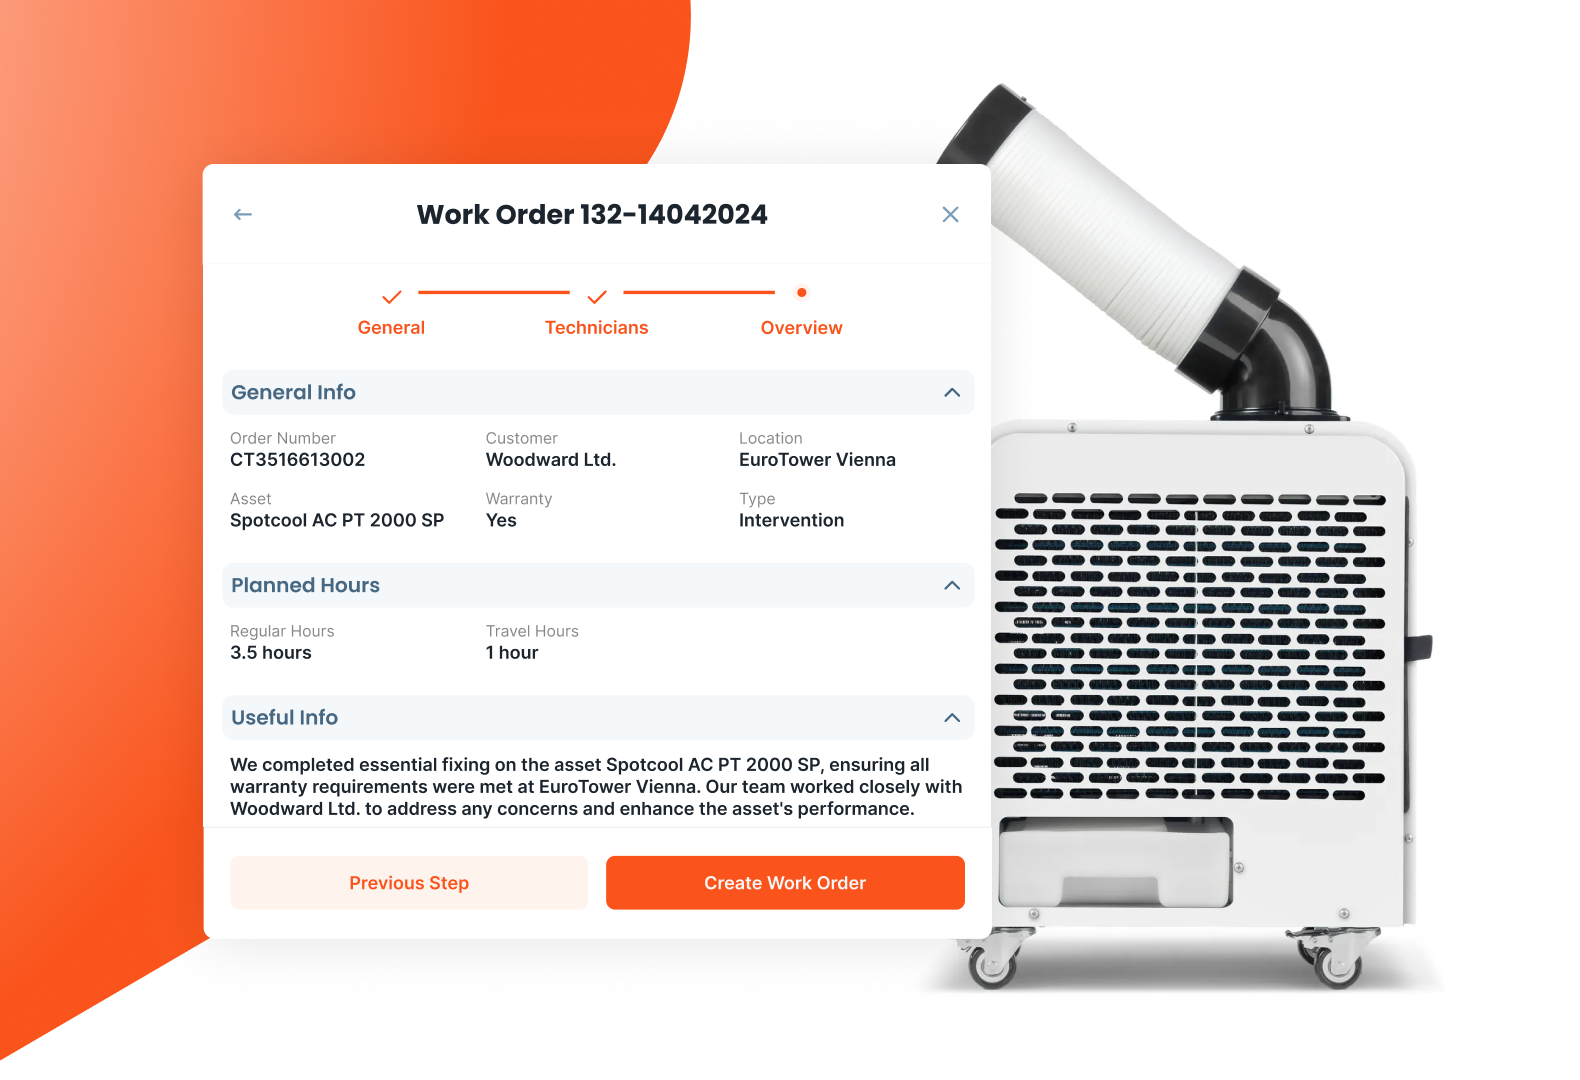
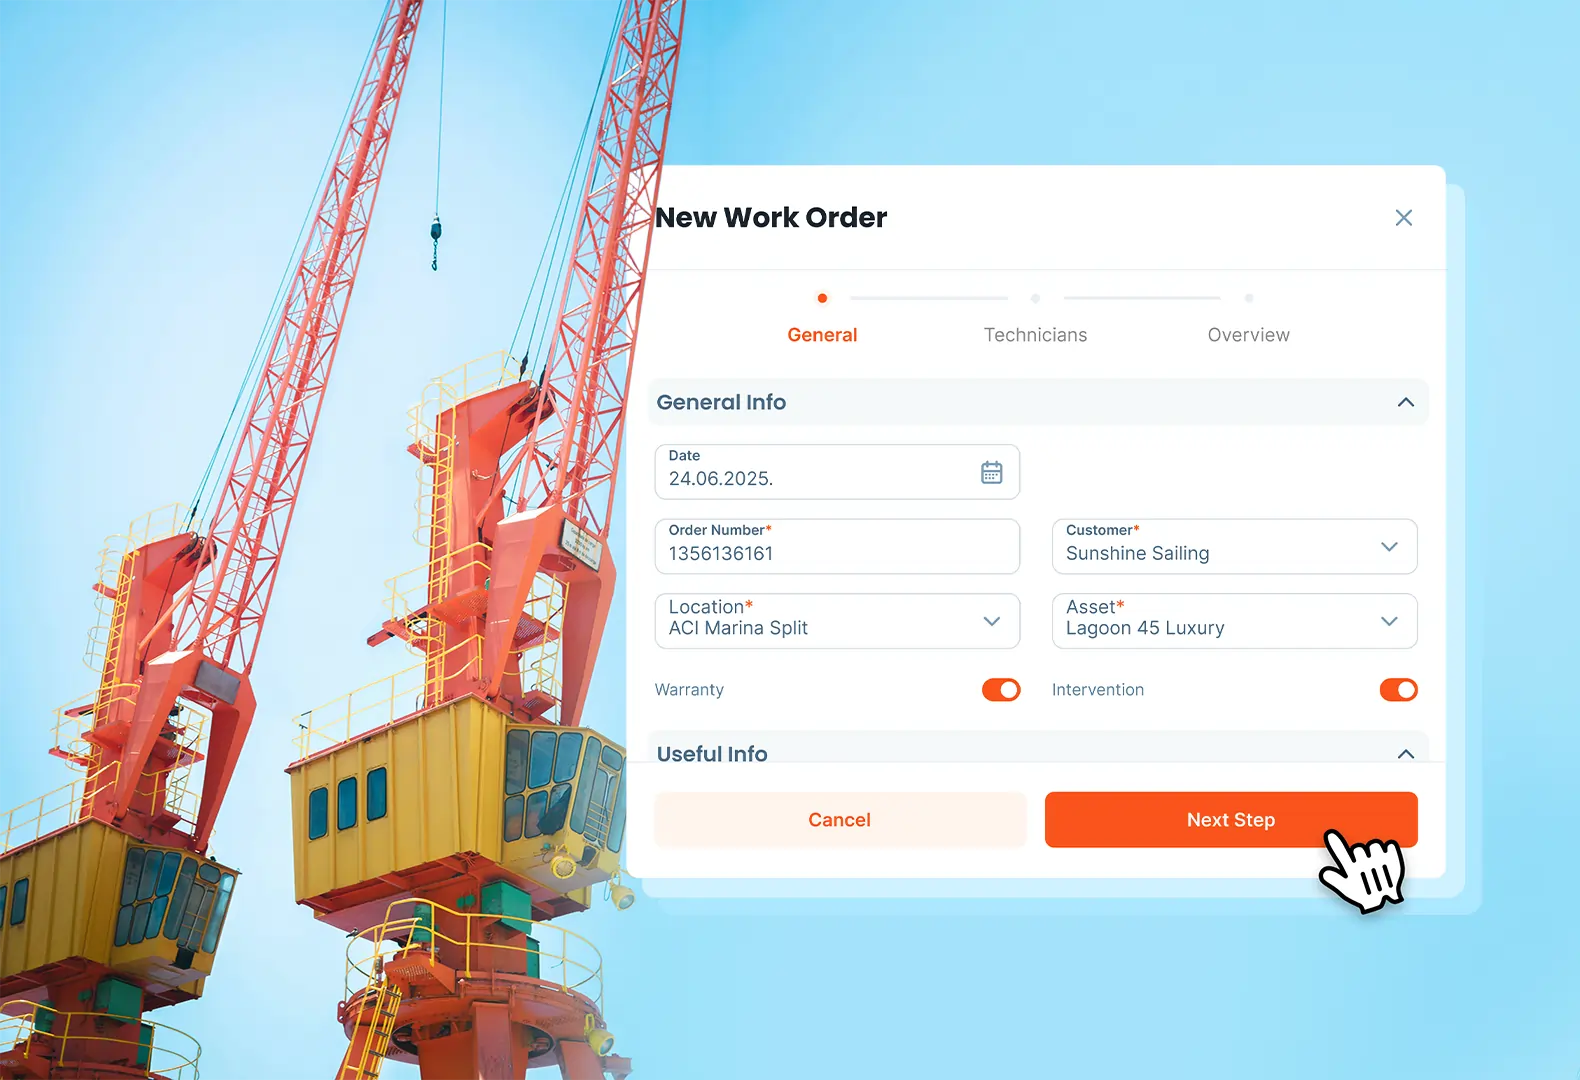
A CMMS supports troubleshooting when the platform removes friction for technicians and managers. Work orders capture symptoms, photos, and readings. Asset pages keep history searchable. Recurring tasks support prevention actions. Reporting supports trend review for recurring faults.
Serwizz posts with related guidance and examples:
Prevent Lost Work Orders and Improve Efficiency
CMMS vs Excel: Choosing the Right Tool for Maintenance Efficiency
Digital Transformation in Maintenance
Key Takeaway
Repeat failures thrive on guesswork and missing records. A structured troubleshooting flow turns each stop into evidence and a verified fix. Each recorded root cause reduces the next downtime event.
Next Step: Identify Your Most Frequent Repeat Fault
Which asset triggers the most repeat faults, and which single measurement would confirm the top suspected cause during the next stop?